Renowned for his views on tablets, Steve Jobs once famously declared, “If you need a stylus, you’ve already failed,” referring specifically to the use of a stylus as the primary input tool for a tablet. However, with the introduction of the Apple Pencil by Apple in 2015, this quote gained renewed significance, serving as a reminder that a) times have changed, and b) Steve Jobs’ assertions were not always infallible.
In 2018, Apple further enhanced its offerings with a second-generation Apple Pencil, incorporating advanced features tailored to the then-fresh lineup of iPad Pro models. Additionally, Logitech entered the market with the Crayon, an affordably-priced alternative to the Apple Pencil, compatible with select iPad models.
This article aims to explore the extensive range of capabilities offered by both the Apple Pencil providing a comprehensive overview of its respective functionalities.
Table of Contents
About Apple Pencil: Quick Overview
The Apple Pencil is a stylus pen designed by Apple Inc. specifically for use with their iPad tablets. It is a sophisticated input device that allows users to interact with their iPads more precisely and creatively. The Apple Pencil offers advanced features and functionalities that make it highly versatile and suitable for various tasks, including:
- Drawing
- Sketching
- Note-taking
- Annotating documents
- And more
The Apple Pencil uses advanced technology to deliver precise pressure sensitivity and tilt detection, enabling users to apply varying levels of pressure for thicker or thinner lines and to create shading effects. It provides a natural and responsive drawing experience, closely resembling the feel of using traditional art tools.
First-Generation Apple Pencil
The first-generation Apple Pencil was introduced in 2015, initially compatible with the iPad Pro models. It connected to the iPad via Bluetooth and charged by plugging it into the iPad’s Lightning port.
Second Generation Apple Pencil
The second-generation Apple Pencil, released in 2018, introduced several enhancements. It featured a streamlined design, magnetically attached to the iPad Pro, offering wireless charging and easy pairing. The second-generation Apple Pencil also introduced touch-sensitive controls, allowing users to double-tap the Pencil to switch between different tools or activate specific functions within supported apps.
Overall, the Apple Pencil has become a popular accessory among artists, designers, students, and professionals who rely on precise and intuitive input for their creative and productivity needs on the iPad. However, before we begin on what can you use the Apple pencil for, we must first understand its compatibility and other feature.
Compatibility of Apple Pencil

There are two distinct iterations of the Apple Pencil, each tailored to work with specific iPad models. The second-generation Apple Pencil is compatible with the following iPad models:
- iPad Pro 12.9-inch (3rd, 4th, 5th, and 6th generation)
- iPad Pro 11-inch (1st, 2nd, 3rd, and 4th generation)
- iPad Air (4th and 5th generation)
- iPad mini (6th generation)
On the other hand, the first-generation Apple Pencil offers compatibility with an extensive selection of iPad models, including some dating back to 2015. These iPad models that work with the first-generation Apple Pencil include:
- iPad (6th, 7th, 8th, 9th, and 10th generation)
- iPad Air (3rd generation)
- iPad mini (5th generation)
- iPad Pro 12.9-inch (1st and 2nd generation)
- iPad Pro 10.5-inch
- iPad Pro 9.7-inch
Moreover, it is important to mention that when using the first-generation Apple Pencil with the iPad (10th generation), you will need a USB-C to Apple Pencil Adapter for compatibility. This version of the Apple Pencil utilizes a lightning connector for charging, while the iPad (10th generation) is equipped with a USB-C US port.
Charging the original Apple Pencil can be a bit peculiar: you have to remove its easily misplaced cap and insert it into a Lightning port, either on an iPad or an iPhone. That’s right, the Pencil protrudes straight out from the iPad, posing a risk of potential damage to both devices if not handled with care.
On the other hand, the second-generation Apple Pencil offers a more convenient solution. It connects magnetically to one side of the iPad Pro and charges wirelessly through induction charging. This method also provides a practical way to carry the Pencil alongside your iPad. Although the magnet is strong, it is advisable to exercise caution if you are carrying the iPad with the Pencil exposed, such as when it’s not enclosed in a case.
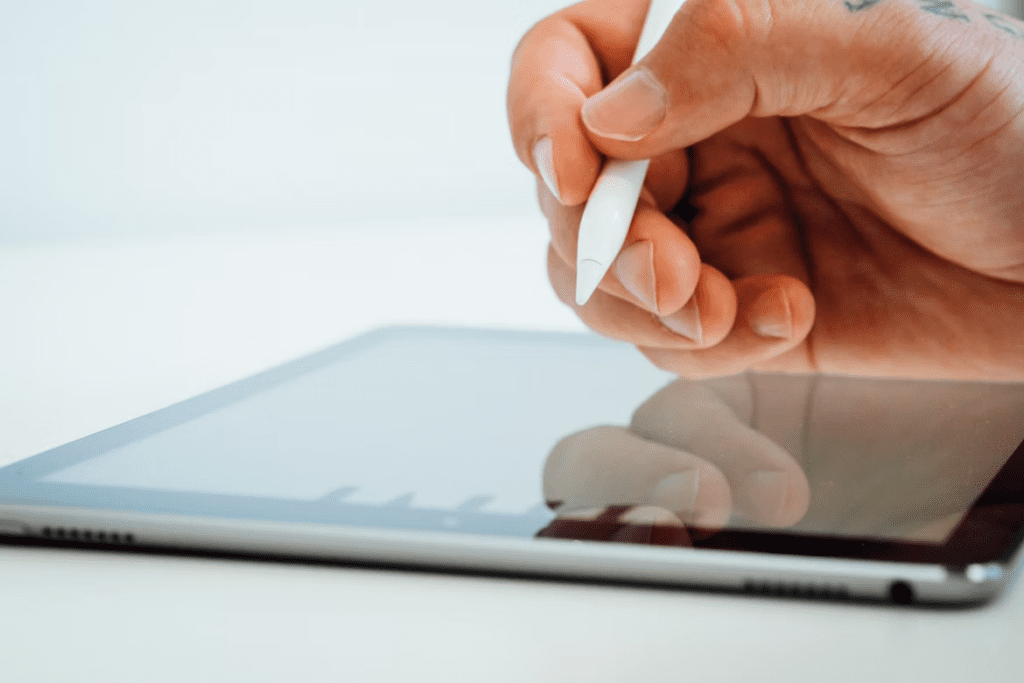
Apple Pencil Form Factor
The original Apple Pencil had a completely round design, making it prone to rolling on surfaces that were not perfectly level. In contrast, the newer model features a flat side that prevents unintended movement. This modification is undoubtedly a practical improvement. While the round pencil may have been visually appealing, the flat-sided design of the newer Pencil prioritizes functionality.
Additionally, the newer Pencil boasts a matte finish, enhancing grip and reducing slipperiness compared to the first model. On the other hand, the Logitech Pencil has an oval-shaped body that is relatively wide. This wider design may not suit everyone’s preference for comfort, but it does ensure that the Pencil stays flat when placed on a table.
How To Set-Up Apple Pencil?
Setting up these devices is straightforward. First, make sure that Bluetooth is enabled on your iPad. Here’s how to set up each version of the Apple Pencil:
A. For the first-generation Apple Pencil
Remove the cap and connect its Lightning connector to your iPad. Then, simply tap the Pair button when prompted.
B. With the second-generation Apple Pencil
Place it on the magnetic side of the iPad. The iPad will instantly detect the presence of the Pencil and establish a connection. When the Apple Pencil is successfully connected, the iPad briefly displays the current battery charge level.
The setup process is designed to be quick and user-friendly, allowing you to swiftly connect and begin using your Apple Pencil with your iPad.
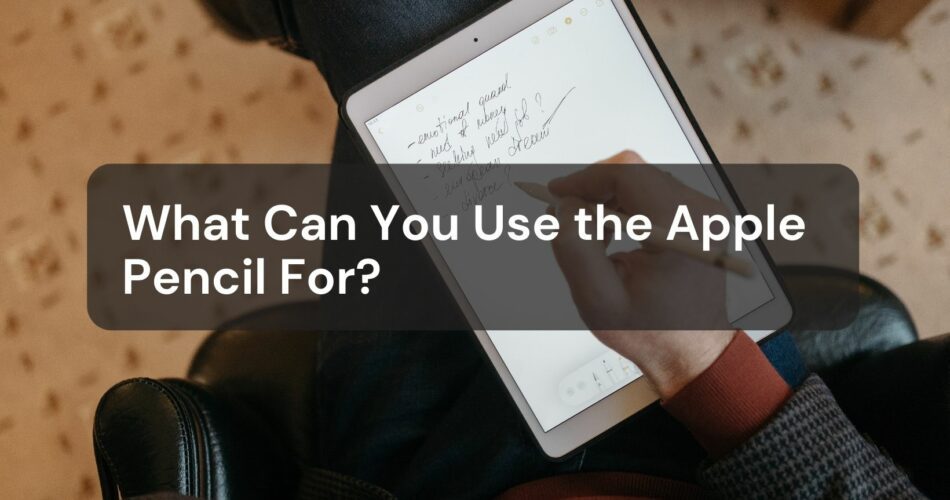
What Can You Use Apple Pencil for?
Draw

To get started, open an application such as the Notes app. With iPadOS [3], you have the flexibility to adjust the tool palette on the screen, either by moving it around or minimizing it, allowing for more expansive drawing and sketching space. The specific tools available within the palette may vary depending on the app you’re using.
One handy tool within the palette is the ruler tool, which enables you to create straight lines with precision. Additionally, you can easily rotate these lines using your fingers, granting you even more control over your drawings.
If you make a mistake, fear not! You have the choice to erase either by object or even down to the individual pixels, providing a high level of accuracy in your editing process.
To begin drawing in the Notes app, follow these steps:
Step 1: Open the Notes app on your iPad.

Step 2: Tap the “+” button to start a new note.
Step 3: Commence and add drawings using your Apple Pencil on the note.
Alternatively, you can tap the “…” button to open the tool palette, where you’ll find a variety of drawing tools and colors to choose from. If you make a mistake, simply switch to the eraser tool. By double-tapping the eraser, you can access additional erasing alternatives directly on your iPad.
When drawing, take advantage of the Apple Pencil’s capabilities. Tilt the pencil to shade lines and press different levels of pressure to darken or lighten the strokes. To customize your workspace, you can drag the tool palette to a different edge of the screen. To maximize your drawing area, tap the arrow button to auto-minimize the tool palette and see more possibilities.
Note: Drawing near the edge of the screen using your Apple Pencil won’t trigger the activation of the Control Center, Notification Center, or Multitasking. This grants you to draw anywhere on the screen without interruptions or interference from these system functions.
Write

You have the capability to write notes using your Apple Pencil in various apps, including Notes. With iOS 14 and later versions, you can now write using your Apple Pencil in any text field*. This means that you can convert your handwritten notes into text.
Additionally, if you write a phone number, date, or address by hand, it functions just as if you had typed it in. This integration permits a seamless experience between handwriting and digital text, providing convenience and versatility in your note-taking and data input.
Scribble enables you to write in any text field with your Apple Pencil
Utilize your iPad and Apple Pencil to handwrite in any text field an example is the search field in Safari or a text field in Mail. All your handwriting and text conversion takes place directly on your iPad, ensuring the privacy and security of your writing.
To learn how to perform actions like deleting, selecting, inserting, and joining words using Scribble, navigate to Settings > Apple Pencil and tap on Try Scribble.
Convert your handwriting to text format
There are two methods to convert your handwriting:
Real-time Conversion
Write using the pen farthest from the ruler, marked with an “A.” As you write, your handwriting will be automatically converted to text.
Converting Existing Notes
If you already have handwritten notes, follow these steps:
Step 1: Double-tap or touch and hold a word to select it.
Step 2: Sweep your finger over more words to select additional text. You can even triple-tap to select an entire line of words.
Step 3: Tap on the selected words.
Step 4: In the menu that appears, choose “Copy as Text.”
You can then paste the converted text into the same document or any other app you choose.
Effortlessly incorporate handwritten phone numbers, dates, addresses, and other information into your digital workflow
Simply tap on a number, date, address, or any other recognized data that you have handwritten. You’ll notice that it is underlined to indicate its recognition. From there, you can select what you want, such as making a phone call or creating an event, based on the recognized data.
You can also achieve precise and symmetrical shapes effortlessly.
Here’s how:
Step 1: Draw a shape of your choice, such as a circle, square, or star, using a single stroke with your Apple Pencil.
Step 2: Once you finish drawing the shape, pause briefly with the tip of your Apple Pencil touching the screen.
Step 3: The shape you initially drew will be automatically transformed into a perfect and symmetrical version of itself.
Apple Pencil Hover
Experience enhanced precision in marking, sketching, and illustrating with Apple Pencil hover. Apple Pencil hover is supported on iPad Pro 11-inch (4th generation) and iPad Pro 12.9-inch (6th generation). It authorizes the detection of your Apple Pencil (2nd generation) position as it hovers up to 12 mm above the display.
The functionality extends throughout iPadOS, enabling its use in various contexts, including navigating the Home Screen, within apps like Notes and Safari [4], and across many applications available on the App Store.
When hovering over a link, button, or icon, you may observe visual changes such as expansion, color alteration, or other interactive responses. Additionally, during drawing or illustrating, you can preview your pen or brush strokes before making your final mark.
The Apple Pencil (2nd generation) Offers a Convenient Double-Tap Feature
With the Apple Pencil (2nd generation), you have the convenience of double-tapping near the tip to perform quick actions. By default, double-tapping authorizes you to switch back to the tool you used last. To customize your double-tap settings, follow these steps:
Step 1: Go to Settings > Apple Pencil on your device.

Step 2: Within the Apple Pencil settings, choose from the following options:

Step 3: “Switch between the current tool and eraser.” This option enables you to toggle between the current tool you are using and the eraser.
Step 4: “Switch between the current tool and the last used.” This setting allows you to switch between the current tool and the previously used tool.
Step 5: “Show color palette.” Selecting this option displays the color palette for quick access.
Step 6: “Off.” This option disables the double-tap functionality of your Apple Pencil.
By selecting the preferred setting, you can personalize the double-tap behavior of your Apple Pencil (2nd generation) to suit your workflow.
Other Uses of Apple Pencil
In addition, Apple Pencil can be utilized as styluses, despite its primary purpose not being focused on controlling the iPad. This functionality proves to be highly practical in certain applications. Using the stylus, you can conveniently tap buttons, drag sliders, and select objects on the screen. This becomes particularly advantageous when editing photos, as the Apple Pencil allows for more precise interaction with small icons in complex editing apps compared to using a finger.
You can also utilize the Apple Pencil to annotate PDFs effortlessly. You can achieve this using the built-in iOS Markup tools or by utilizing one of the numerous third-party apps available for iOS. To begin, open a PDF document, then tap the Markup icon to access the annotation tools.
With the Apple Pencil, you can draw, highlight, underline, and add text annotations directly on the PDF. Additionally, you can use these devices to sign PDF documents, providing a seamless and efficient workflow for managing and editing your PDF files.
Conclusion
The Apple Pencil unlocks endless possibilities for creativity and productivity. It enables precise sketching, drawing, and writing. With handwriting recognition and seamless integration, it’s perfect for note-taking and navigating apps.
Moreover, the Apple Pencil enhances photo editing and signing documents. This powerful accessory expands the iPad’s capabilities, making it an essential tool for unleashing your creative potential.