If you manage a Windows Server 2016 or 2019 environment, having the ability to shrink and expand volumes or partition disks is an essential skill. Knowing how to do this properly can save you time and resources, while also ensuring that your server environment runs optimally.
In this blog post, we will explore the step-by-step tutorial for shrinking and expanding volumes in Windows Server 2016 and Server 2019, breaking down the steps and considerations necessary for your better understanding.
By the end of this post, you will have a comprehensive understanding of the process and be able to confidently adjust the size of your server’s volumes.
Table of Contents
How to resize volumes in Windows Server 2016 and 2019?
In this section, I will break this down into two parts. Firstly, it will be shrinking one of the volumes which is using C: drive and using the unallocated space to create a new volume.
Next, I will be showing how to extend volume from an unallocated disk space whereby I will delete an unused volume to convert this into unallocated disk space.
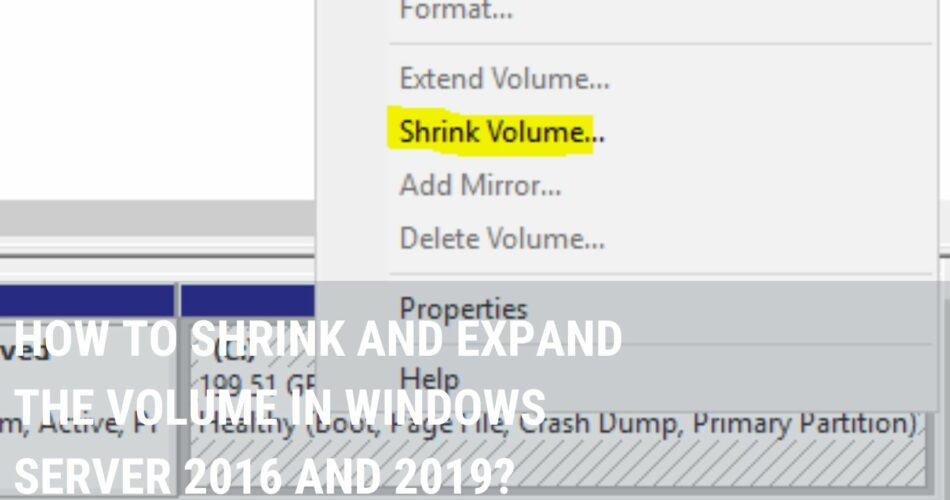
How to shrink your volume in Windows Server 2016 & 2019 using disk management?
In order to shrink the current volume, you will need to go to disk management. It can be found under Server Manager -> Computer Management and you should be able to see Disk Management under Storage.

In this example, I will show how to shrink volume using Windows disk management. I will be shrinking down my current C: Drive volume which is one of the disks in the servers.
1. In this case, I have selected my C: Volume which is under Disk 0. Right-click on the volume, and you should see the popup menu select Shrink Volume

2. Next, you will see the system is Querying Shrink Space window. It will take a while for the system to query the shrinking space for your volume. This process will depend on your volume size and your server resouces.

3. After this process is complete, you should be able to allocate how much space to shrink down the volume. You can input the value in MB (Megabytes) under the:”Enter the amount of space to shrink:”

4. For this example, I have input 10072 MB which translates to about 10GB to shrink in the C drive volume.
And you are also able to see the disk space left in MB after the shrinking of the C drive which is about 19 GB. Click the Shrink Button to confirm.

So after the shrinking is completed, you should be able to see about 10 GB of unallocated disk space in the disk. This 10GB is carved out from the existing volume for C drive in the Windows Server.
How to create a new volume for unallocated disk space?
Earlier we have about 10GB of unallocated disk space after shrinking down the C drive volume using Windows’s Server disk management.
In the next example below, I will show how can I create a new volume in disk management which is similar to create a new partition.
1. In disk management, you should be able to see unallocated disk space in the same disk that we used for doing the shrinking down earlier.
2. Right-click the unallocated disk space and select New Simple Volume

3. It will launch the New Simple Volume Wizard, click Next to proceed

4. You can specify the disk size in MB for the new volume under Simple Volume Size. In this example, I will input the maximum disk space for this new volume which is 10072 MB.
Click the Next button to proceed to the next step.

5. It will actually prompt you to assign a path or a drive letter. I will assign a new drive letter called G: drive for this walkthrough. Click Next button to proceed to the next step.

6. After assigning a new drive letter for the new volume, you will be prompted to whether to format the new volume. I have selected Format this volume with the following settings below in the screenshot.
You also can label or name your new volume like “Log” etc to indicate what is the volume used for.

7. After the format is completed, you should be able to see a new drive called G: In this example, this G: drive and C: drive actually sit in the same disk.

To summarise, you can use these methods I show earlier if you want to shrink down the existing volume which has more than free space for a new volume. It is like a disk partition where a disk is now used by C and G drives now.
Furthermore, this method will not affect your existing file system in the operating system or data loss even though you have shrunk down your operating system drive.
How to extend your volume in Windows Server 2016 & 2019
Next, I am going to show you how to extend your current volume for your Windows Servers 2016 or 2019.
It is a safe and fast method without data loss that should not affect your existing file system like c drive in your windows server during the extending volume process.
1. Assuming you have 10GB of unallocated disk space in the disk, you can simply right-click the volume that you want to extend and select Extend Volume
In this example, I would like to extend or increase the size of your C drive in the disk management

2. It will bring you to Extend Volume Wizard, you can add & select unused disk space 10070 MB to extend for your C drive volume. Click next to proceed

3. Lastly, you should be able to see your C drive volume has extended successfully with an additional 10GB.

What is Windows Disk Management?
Windows Disk Management is a Windows utility like a disk manager that allows users to manage disk drives and the associated file systems. It lets users view, create, delete, and format disk partitions, extending the volume, as well as manage disk space, assign drive letters, and more. Disk Management is a graphical user interface and can be accessed through the Computer Management Console.
Final Thoughts
Thank you for reading this step-by-step guide to shrinking and expanding volumes without any data loss in Windows Server 2016 and 2019. Let me know in the comments below if you have any questions.